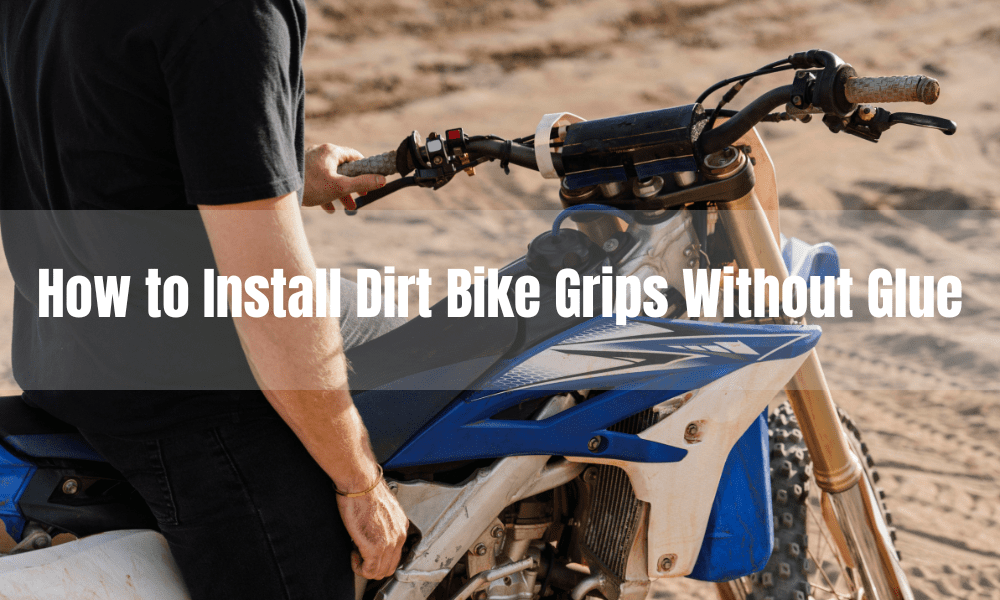
How to Install Dirt Bike Grips Without Glue: Glue-Free Techniques
When it comes to conquering rugged terrains and taking your dirt bike on thrilling adventures, having the right grips can make all the difference. Grips provide you with the control and comfort you need to handle your bike with confidence. But what if we told you there’s a way to install dirt bike grips without the mess and fuss of glue?
In this comprehensive guide, we’re about to unveil the secrets of glue-free techniques for installing dirt bike grips.
Benefits of Installing Dirt Bike Grips Without Glue
Traditional glue installation can be problematic for a few reasons. First, the glue can be messy and difficult to work with, making the installation process frustrating and time-consuming. Second, once the grips are on, they’re difficult to remove and replace, which can be a problem if you want to switch to a different type of grip or replace a worn-out grip.
Non-glue grip installation, on the other hand, is much easier and cleaner. You don’t need to deal with messy glue, and the grips can be easily removed and replaced as needed.
Types of Dirt Bike Grips and Their Pros and Cons for Non-Glue Installation
There are several types of dirt bike grips available, each with its own pros and cons for non-glue installation. Here’s an overview:
Foam grips: These are soft, lightweight grips that are easy to install without glue. However, they’re not as durable as other types of grips and may wear out more quickly.
Rubber grips: These are the most common type of grip and are available in a variety of patterns and colors. They’re easy to install without glue and offer good durability and grip strength.
Gel grips: These grips are made with a gel material that provides extra cushioning and comfort. They can be installed without glue but may require a bit more effort to get them on securely.
Lock-on grips: These grips have an integrated locking mechanism that secures them to the handlebars without the need for glue. They offer excellent grip strength and are easy to remove and replace.
Tools Needed for Installing Dirt Bike Grips Without Glue
Grip donuts: These are small rubber rings that go on the ends of the handlebars to prevent the grips from sliding off.
Wire or safety wire: This is used to secure the grips to the handlebars.
A razor blade or scissors: This is used to cut the old grips off.
Rubbing alcohol or a degreaser: This is used to clean the handlebars before installation.
Step-by-Step Instructions for Installing Dirt Bike Grips Without Glue
- Remove the old grips with a razor blade or scissors.
- Clean the handlebars with rubbing alcohol or a degreaser.
- Slide the grip donuts onto the ends of the handlebars.
- Heat the new grips with a heat gun or hairdryer to make them more pliable.
- Slide the new grips onto the handlebars.
- Use wire or safety wire to secure the grips to the handlebars.
- Trim any excess wire with a pair of pliers.
- Let the grips cool and settle for a few hours before riding.
Also Read: How to Remove Handlebar Grips Without Destroying Them
Conclusion
Installing dirt bike grips without glue is a great way to save time and avoid the mess of traditional glue installation. With the right tools and a little know-how, you can easily install and replace your grips whenever necessary. Whether you prefer foam, rubber, gel, or lock-on grips, there’s a non-glue installation method that will work for you.