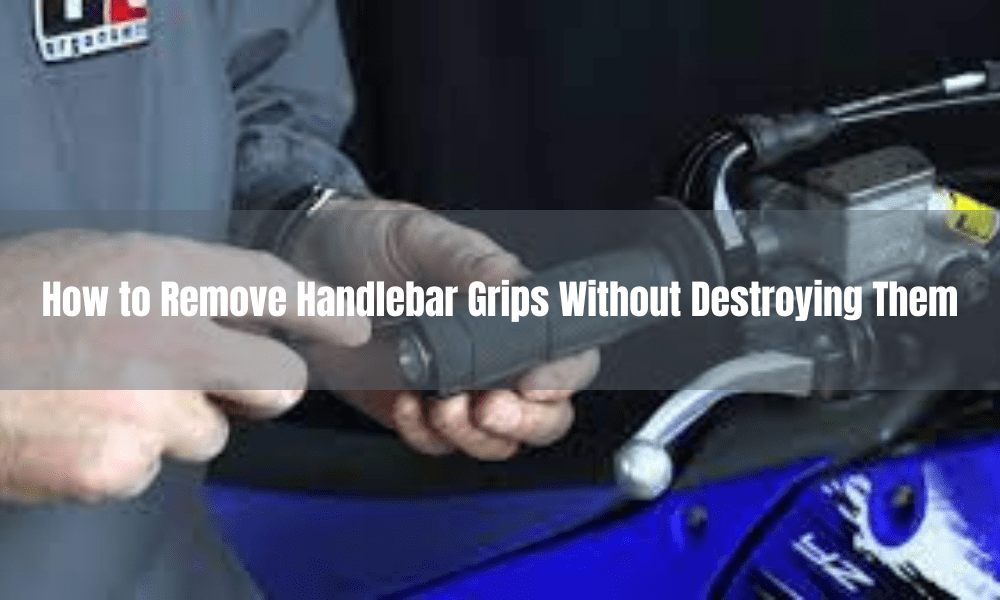
How to Remove Handlebar Grips Without Destroying Them
If you’re an avid cyclist, you know how important it is to keep your bike in top condition. One of the essential maintenance tasks you’ll need to perform regularly is removing and replacing handlebar grips. However, it’s also essential to do so without damaging the paint on your bike.
Why Paint Damage Matters
Before we dive into the techniques for removing handlebar grips without damaging the paint on your bike, let’s discuss why it’s crucial to do so. First, paint damage can negatively impact your bike’s appearance and resale value. If your bike has visible scratches, chips, or other imperfections, it may be less appealing to potential buyers or other cyclists. Additionally, paint damage can lead to rust or other types of corrosion, which can weaken your bike’s frame and components over time.
Preparing Your Bike for Grip Removal

Before you start removing handlebar grips, it’s essential to prepare your bike properly. First, gather the necessary tools and materials you’ll need, such as rubbing alcohol, a hair dryer or heat gun, a solvent, a wire or coat hanger, a grip removal tool, and a clean rag or towel. Next, you’ll want to protect your bike’s paint and finish from damage. You can do this by wrapping the handlebars and any exposed metal parts in a soft cloth or using painter’s tape to cover them.
Techniques for Removing Handlebar Grips
Now that you’ve prepared your bike for grip removal, let’s explore some techniques for removing the grips without damaging the paint. Keep in mind that some techniques may work better than others, depending on the type of grip and adhesive used.
Using Rubbing Alcohol or Hairspray
One common technique for removing handlebar grips is to use rubbing alcohol or hairspray to loosen the grip’s adhesive. First, apply the alcohol or hairspray around the edge of the grip, then gently wiggle it back and forth until it comes loose.
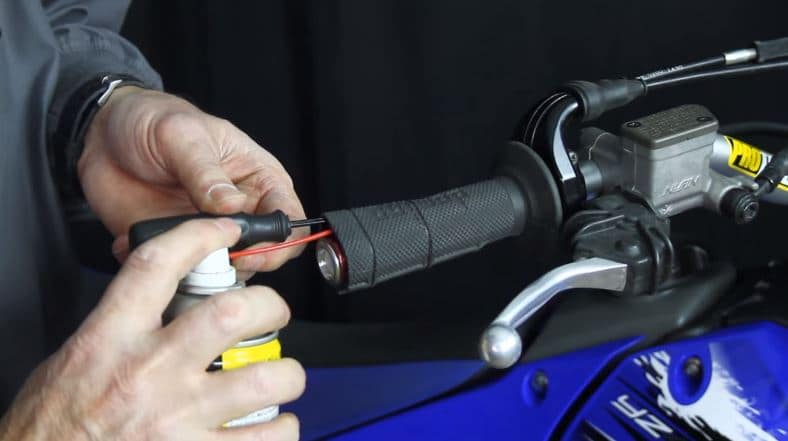
Using Compressed Air

Another technique involves using compressed air to lift the grip off the handlebars. You can do this by inserting the nozzle of a compressed air canister under the edge of the grip and releasing the air. This technique can be particularly effective for grips that are held in place with a light adhesive.
Using a Wire or Coat Hanger
If the grip is particularly stubborn, you can try cutting it off using a wire or coat hanger. To do this, straighten out the wire or coat hanger and thread it through the grip until it reaches the other end. Then, twist the wire or coat hanger back and forth until it cuts through the grip. This technique can be effective for removing old or brittle grips.
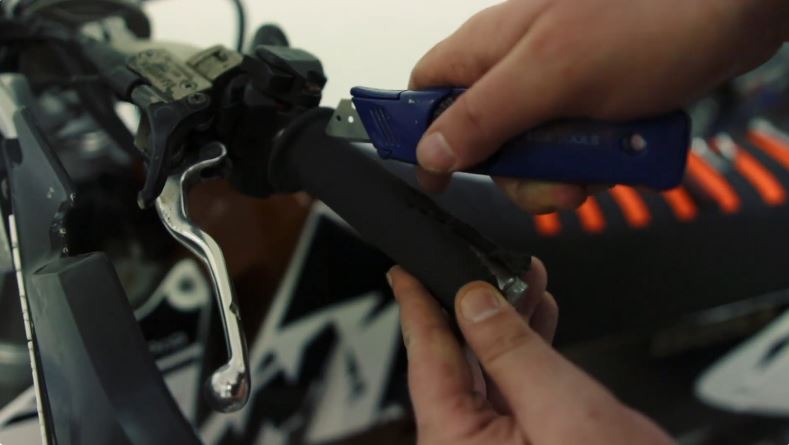
Using a Grip Removal Tool

A grip removal tool is a handy device designed specifically for removing handlebar grips without damaging your bike’s paint or finish. The tool works by inserting two prongs into the grip and then using a lever to lift it off the handlebars. This technique is particularly useful for removing integrated grips or those that are held in place with a strong adhesive.
Using a Hairdryer or Heat Gun
If the grip is held in place with a strong adhesive, you can try using a hairdryer or heat gun to loosen it up. First, apply heat to the grip, then gently wiggle it back and forth until it comes loose. Be careful not to apply too much heat, as this can damage your bike’s paint or finish.
Using a Solvent
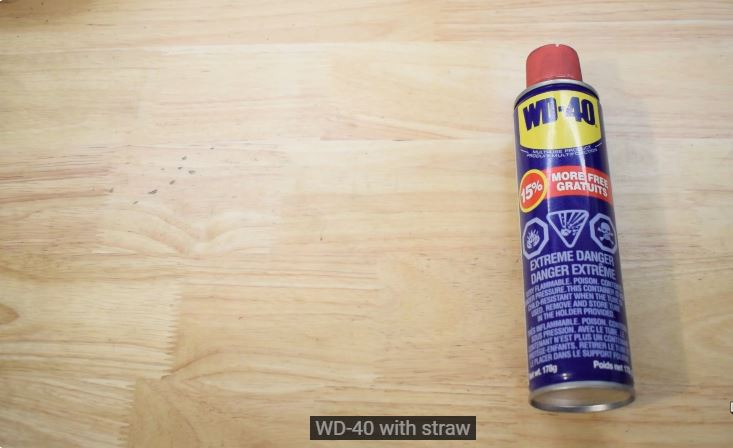
Finally, you can try using a solvent, such as WD-40 or acetone, to remove the grip. First, apply the solvent around the edge of the grip, then gently wiggle it back and forth until it comes loose. Be sure to use caution when using a solvent, as it can be harsh and may damage your bike’s paint or finish if used incorrectly.
After Removing the Grips
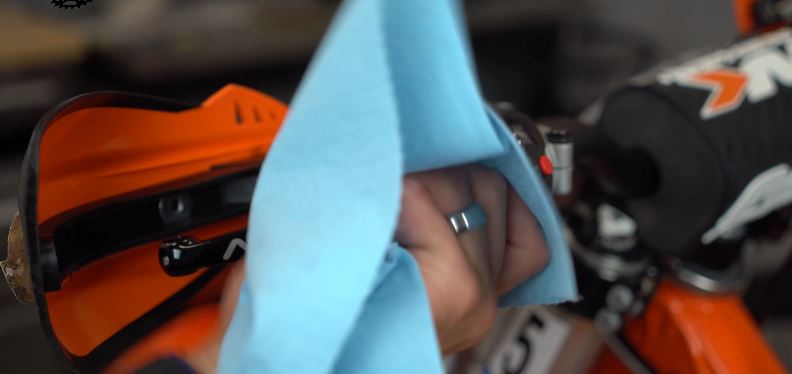
Once you’ve successfully removed the handlebar grips, it’s essential to clean and inspect the area where the grips were located. Check for any residual adhesive or debris that may have accumulated, and clean the area thoroughly using rubbing alcohol or a similar cleaner. You may also want to polish the area using a high-quality bike polish to restore the shine and protect the paint.
Also Read: How to Install Dirt Bike Grips Without Glue
Conclusion
Removing handlebar grips without damaging the paint on your bike can be a challenging task, but it’s essential for maintaining the appearance and value of your bike. By following the tips and techniques outlined in this article, you can safely and effectively remove your grips without causing any harm to your bike’s paint or finish. Remember to take your time, be patient, and always use caution when working with your bike’s delicate components.