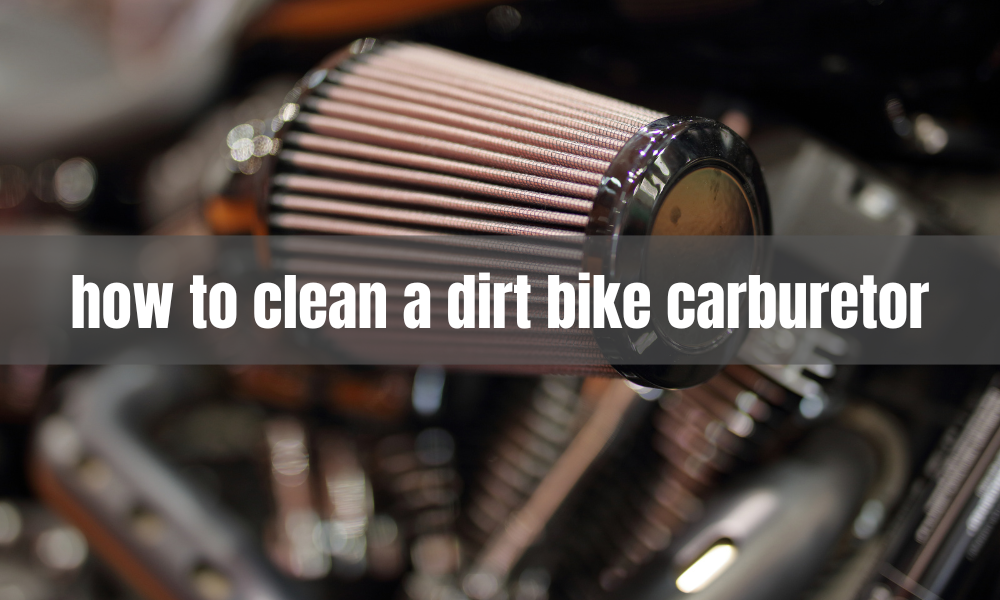
How to Clean a Dirt Bike Carburetor
A carburetor is a mechanical device that mixes air and fuel in the proper ratio for internal combustion engines. responsible for regulating the amount of fuel that is delivered to the engine, and also helps to mix the fuel with air to create a combustible mixture. In a dirt bike, the carburetor is a vital component that ensures the engine runs smoothly and efficiently.
A dirty or clogged carburetor can lead to a variety of issues with the dirt bike, such as poor engine performance, difficulty starting, and reduced fuel efficiency. Regular cleaning and maintenance of the can help to prevent these issues and ensure the dirt bike runs at its best.
Gather necessary tools and materials
Before you begin the process of cleaning your dirt bike’s carburetor, it is important to gather all of the necessary tools and materials. These will include a cleaner, a small brush, a screwdriver, and rags or paper towels.
The cleaner is a specialized solvent that is designed to dissolve and remove any dirt, debris, or other contaminants that may have built up in the carburetor. A small brush, such as a toothbrush or pipe cleaner, will be helpful for scrubbing hard-to-reach areas. The screwdriver will be necessary for disassembling the. Rags or paper towels will be needed to clean up any remaining debris and to dry off the parts after cleaning.
Drain the fuel
The next step in cleaning your dirt bike’s carburetor is to drain the fuel. This is an important safety measure as it will prevent any fire hazards while working on the.
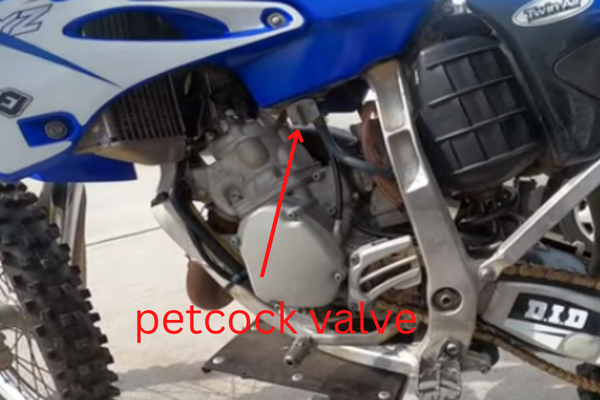
To drain the fuel, locate the petcock valve, which is usually located at the bottom of the fuel tank. Turn the petcock valve to the “Off” position, which will stop the flow of fuel to the carburetor. Wait for a few minutes to allow any remaining fuel to drain out.
It’s important to work in a well-ventilated area and avoid smoking or any open flame while handling fuel. Also, make sure to dispose of the fuel properly, following the local regulations.
Remove the carburetor from the dirt bike
Removing the carburetor from the dirt bike is an essential step in cleaning it, as it allows you to access all parts of the for cleaning. Before proceeding with the removal, it is important to consult your dirt bike’s service manual for specific instructions on carburetor removal for your make and model.
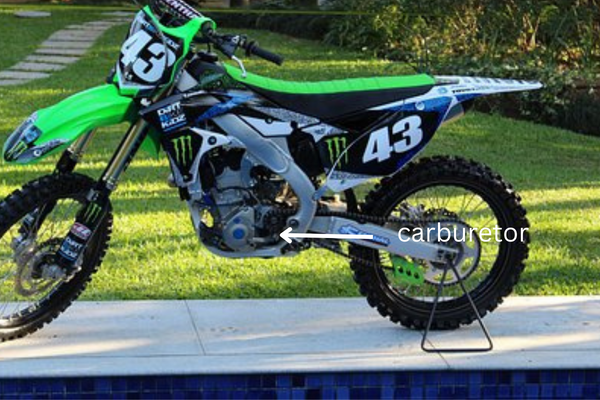
To remove the, start by locating it on your dirt bike. The carburetor is typically connected to the engine via a series of hoses, wires, and clamps. Carefully disconnect these connections, taking note of their location and routing, as they will need to be reconnected later.
Once all the connections are disconnected, you should be able to remove the carburetor by loosening any bolts or clamps that hold it in place. Carefully lift the out of the engine compartment, and place it on a clean, flat surface. Be sure to keep the parts and screws in order, as it will make it easier to reassemble later.
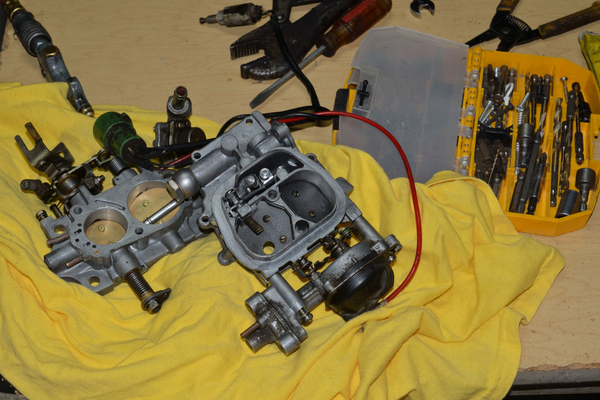
Disassemble the carburetor
Once the carburetor has been removed from the dirt bike, the next step is to disassemble it. Disassembling the will allow you to access all of its parts for cleaning, including the jets and passages.
Before you begin disassembling the carburetor, refer to the service manual for your make and model for specific instructions on disassembly. This will ensure that you are familiar with the design and layout.
To disassemble the, start by removing the float bowl, which is typically located at the bottom of the carburetor. The float bowl is held in place by a series of screws, which will need to be removed. Once the float bowl is removed, you will have access to the main jet and pilot jet, which can be removed for cleaning.
Clean the carburetor
Now that the carburetor is disassembled, it’s time to clean all the parts. Cleaning is important to remove dirt, debris, and other contaminants that can accumulate over time and affect engine performance.
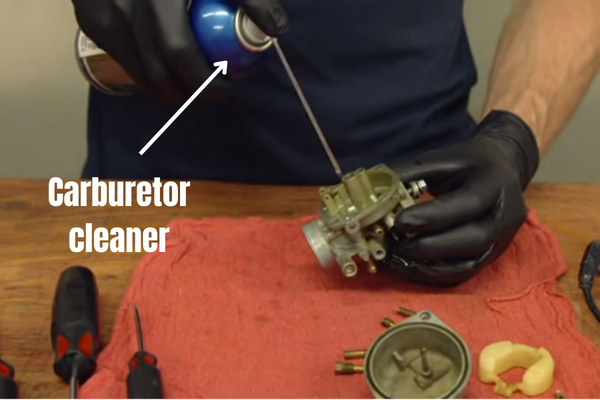
The cleaner is a specialized solvent that is designed to dissolve and remove any dirt, debris, or other contaminants that may have built up in the carburetor.
Start by using the cleaner and a small brush, such as a toothbrush or pipe cleaner, to clean each part of the carburetor, including the float bowl, main jet, pilot jet, throttle slide, and needle jet. Make sure to pay attention to small passages and orifices, as these are the areas that are most likely to become clogged.
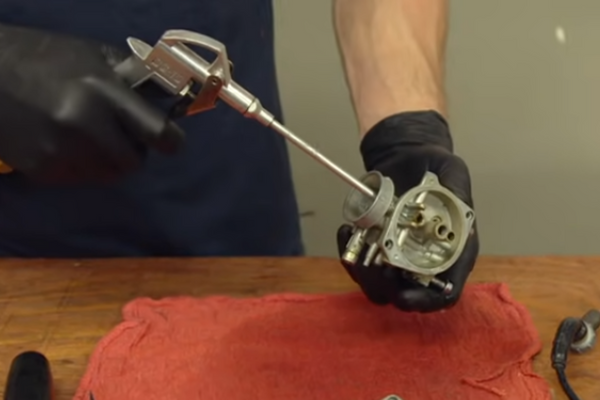
After cleaning, use rags or paper towels to dry off the parts. Once the parts are dry, inspect them for any wear or damage, if any, replace the parts that are damaged.
It’s important to handle the carburetor parts carefully and avoid losing any small parts such as screws or o-rings. Also, make sure to follow the instructions and safety precautions of the cleaner you are using, to avoid any potential damage or health hazards.
Reassemble the carburetor
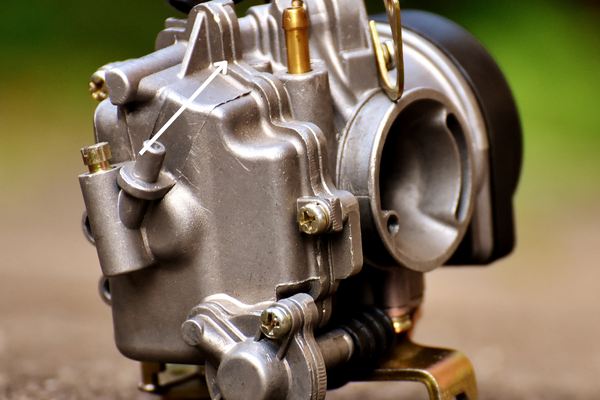
Once all the parts are cleaned and dried, it’s time to reassemble the. Reassembling the carburetor is important to ensure that it functions properly and efficiently.
Reassembling the carburetor can be tricky, so it’s important to refer to the service manual for your make and model for specific instructions on reassembly. If you have taken pictures or made notes while disassembling the, they will be helpful in this step.
Start by reassembling the parts in the reverse order that they were disassembled. Begin by reinstalling the needle jet, followed by the throttle slide, and then the main jet, and pilot jet. Make sure to tighten all screws securely and reattach any clips or springs.
Reinstall the carburetor
Once the is reassembled, the next step is to reinstall it back onto the dirt bike. Reinstalling is important to ensure that the engine runs smoothly and efficiently.
start by carefully aligning it with the engine and securing it in place with any bolts or clamps that were removed earlier. Make sure that the carburetor is properly seated and aligned with the engine.
Adjust the carburetor
After the carburetor is reinstalled, it’s important to adjust the settings to ensure optimal engine performance. Adjusting the is critical to ensure that the engine is running at the correct air/fuel ratio and idle speed.
The two main settings that need to be adjusted are the idle speed and the air/fuel mixture. The idle speed is the RPM (revolutions per minute) at which the engine runs when it is in neutral or idle. The air/fuel mixture is the ratio of air to fuel that is delivered to the engine.
To adjust the idle speed, locate the idle adjustment screw on the carburetor, and use a screwdriver to turn the screw clockwise to increase the idle speed or counterclockwise to decrease the idle speed. The correct idle speed will vary depending on the make and model of your dirt bike, so refer to the service manual for specific instructions.
The air/fuel mixture can be adjusted by turning the air/fuel mixture screw. Turning the screw clockwise will lean the mixture, while turning it counterclockwise will richen the mixture. It’s important to have a proper air/fuel ratio to have a smooth engine performance and avoid damage to the engine.
It’s important to make these adjustments gradually and in small increments to avoid overshooting the correct settings. make sure to test-ride the dirt bike after the adjustments to ensure that the engine is running smoothly and efficiently.
FAQ:-
Q1. How do you clean a dirt bike carburetor without taking it off?
Answer: Cleaning a without taking it off can be done by using a cleaner spray, small brush, compressed air, small pick or needle, cleaning solution and specialized tools, throttle body cleaner, fuel additive, running the bike on a fuel system cleaner, small vacuum, wire brush, cleaning gel, tablet, pen, and foam. It’s important to refer to the service manual for specific instructions on cleaning the carburetor without taking it off.
Final Word
May not be the first thing that comes to mind when you think about cleaning, but it can be a helpful tool. Taking the time to clean and maintain your can help it run more efficiently and extend its lifespan. It Cleaning them can be a daunting task, but with a few basic tools and a little patience, you can do it yourself. Taking the time to properly clean and maintain your dirt bike’s carburetor will pay off in the long run and provide you with a sense of accomplishment.